Enabling URL Controls
Enabling URL Control features will require an active Premier Subscription.
Location Selection
When the URL Control module is active you can enable location ID passing by turning on “Location Selection” under the General / User Interface tab.
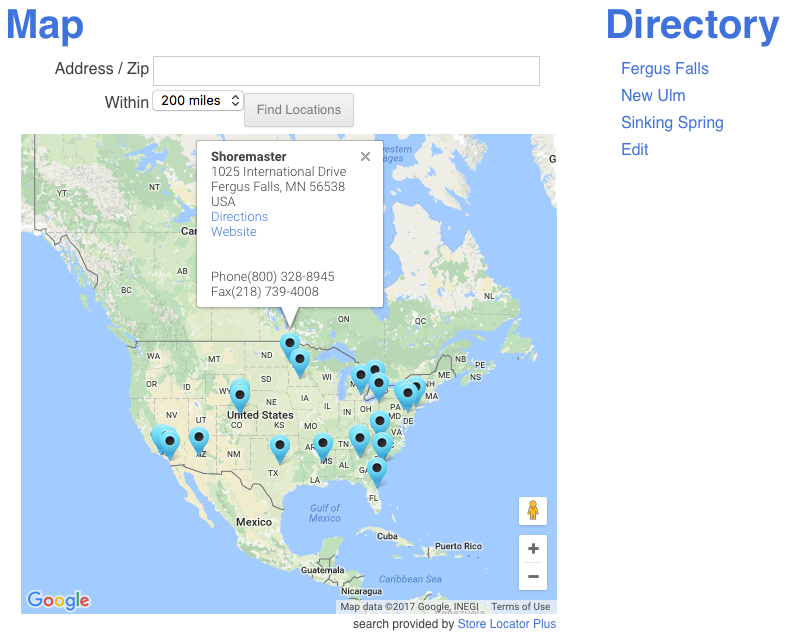
When this is enabled you can pass in a location ID by adding ?location=<id> to the end of the page address where your locator map is deployed with the [slplus] shortcode.
When the location ID is present and the settings is enabled the specified location will be activated on the location map as if a user had clicked the marker on the map. This will show the info bubble by default.
Note: If cluster map markers are enabled they will be turned off for the initial page load. Subsequent input or searches by the user will re-activate the cluster map markers.
Note: When passing in a location ID via a URL the location latitude/longitude will become the center point for the map display. The location that is shown will be at the top of the result listing if sort by distance (default) is in place.
Location Limit
When the URL Control module is active you can enable location ID passing by turning on “Location Limit” under the General / User Interface tab.
When this is enabled you can pass in a limit for the number of locations to be returned when the map initially loads and when a search is performed by adding ?limit=<id> to the end of the page address where your locator map is deployed with the [slplus] shortcode.
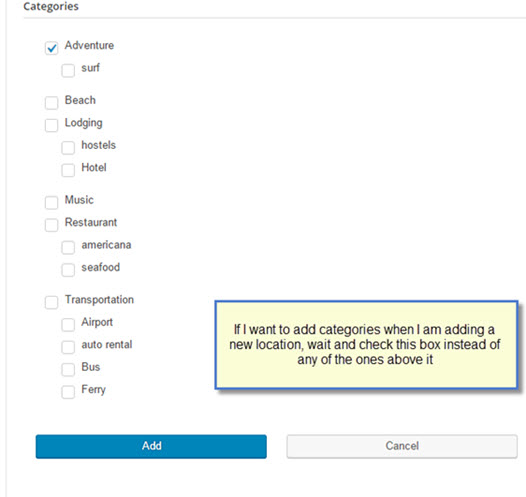
Filter By Tag
When the URL Control module is active you can filter locations to show only this matching the tag(s) by turning on “Filter By Tag” under the General / User Interface tab.
This setting will require the Power Add On to be installed and active.
This setting will also require the following shortcode to be present in the Results Layout. The shortcode is standard in most Store Locator Plus provided Style Gallery Styles. It can be removed or changed if you have the Experience Add On active.
[slp_search_element selector_with_label="tag"]
An example of a Results Layout where locations are assigned a single tag. With multiple tags the entire list will be hyperlinked and will not likely perform as expected. Note the [slp_location data.sl_tags] takes the place of the [slp_location pro_tags] shortcode that is set by default on most Style Gallery styles.
</div>
If you have URL controls enabled you can now pass in location filters based on a tag by adding ?only_with_tag=red to the end of your locations page URL.
Combining URL Options
You can combine the URL control options by using standard URL notation for parameter passing.
The standard is to define the first parameter by starting with a question mark.
Additional parameters are started with an ampersand.
To pass a location ID and a location limit, in this example to show ONLY the location specified, you would add ?location=32&limit=1 to your map page URL.